2017 Madras |
|
|

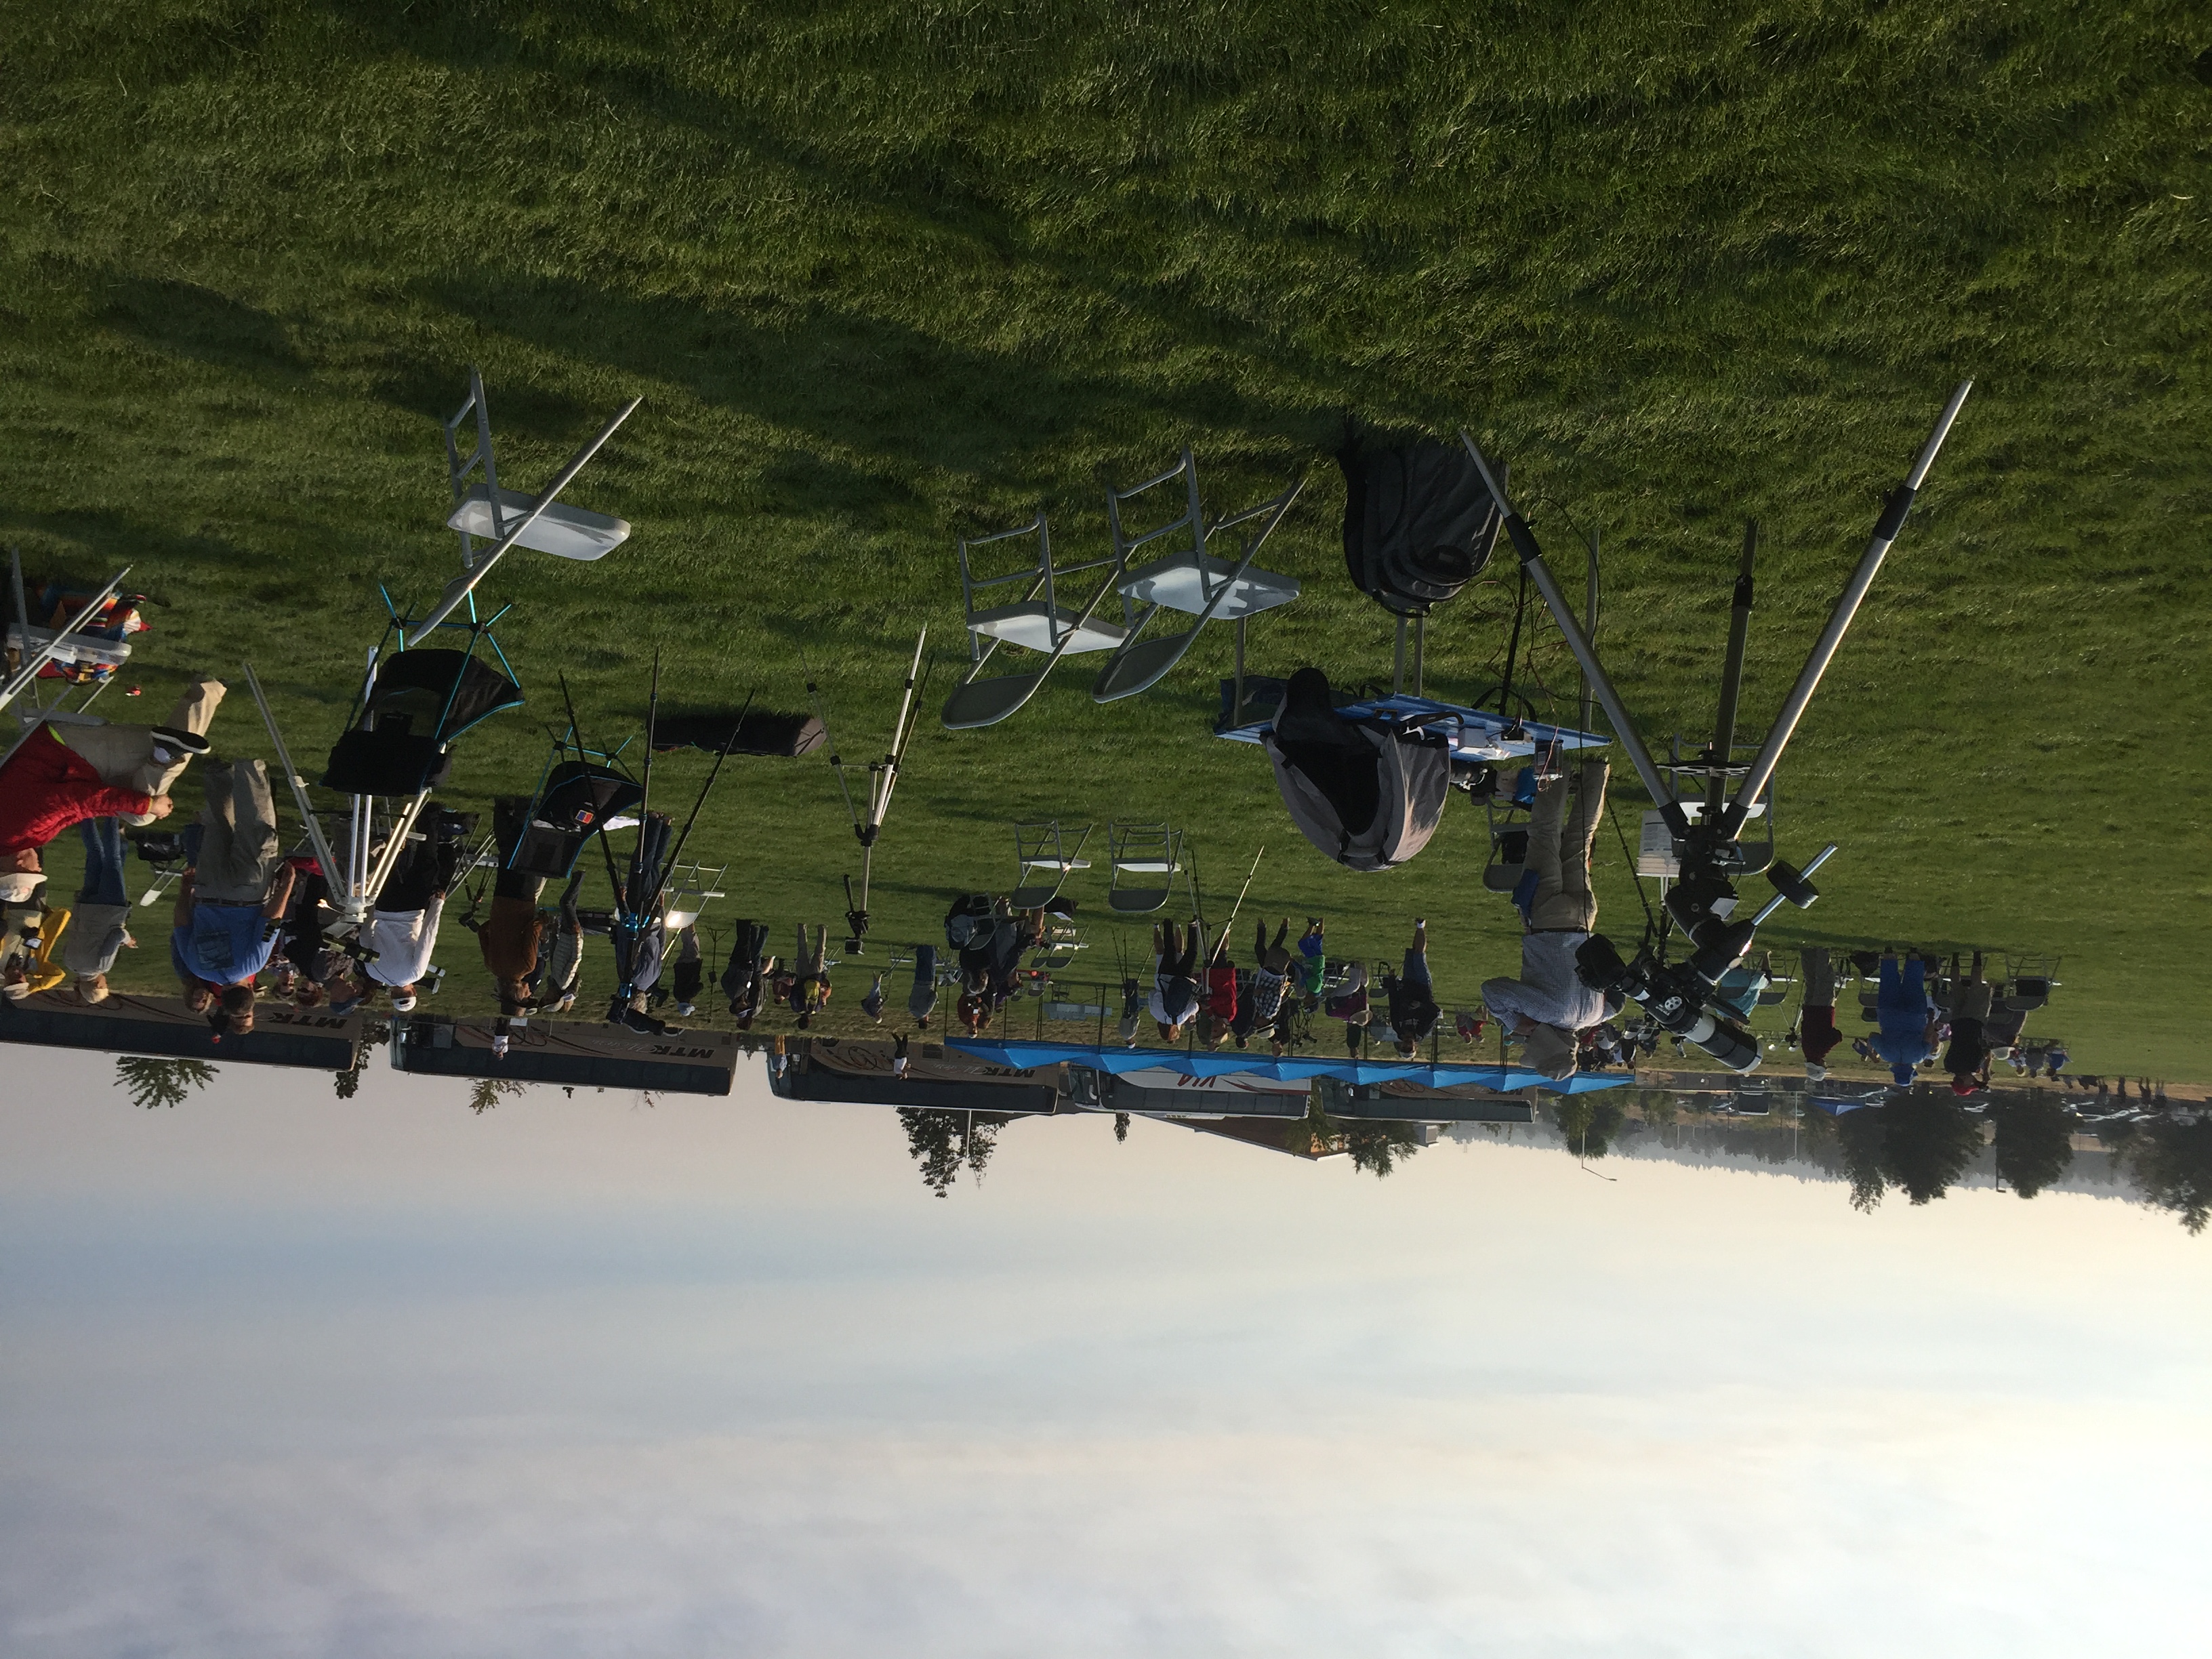 Across the field with my equipment in the foreground |
 The traditional pinhole sign Photo courtesy of Dave Darrah |
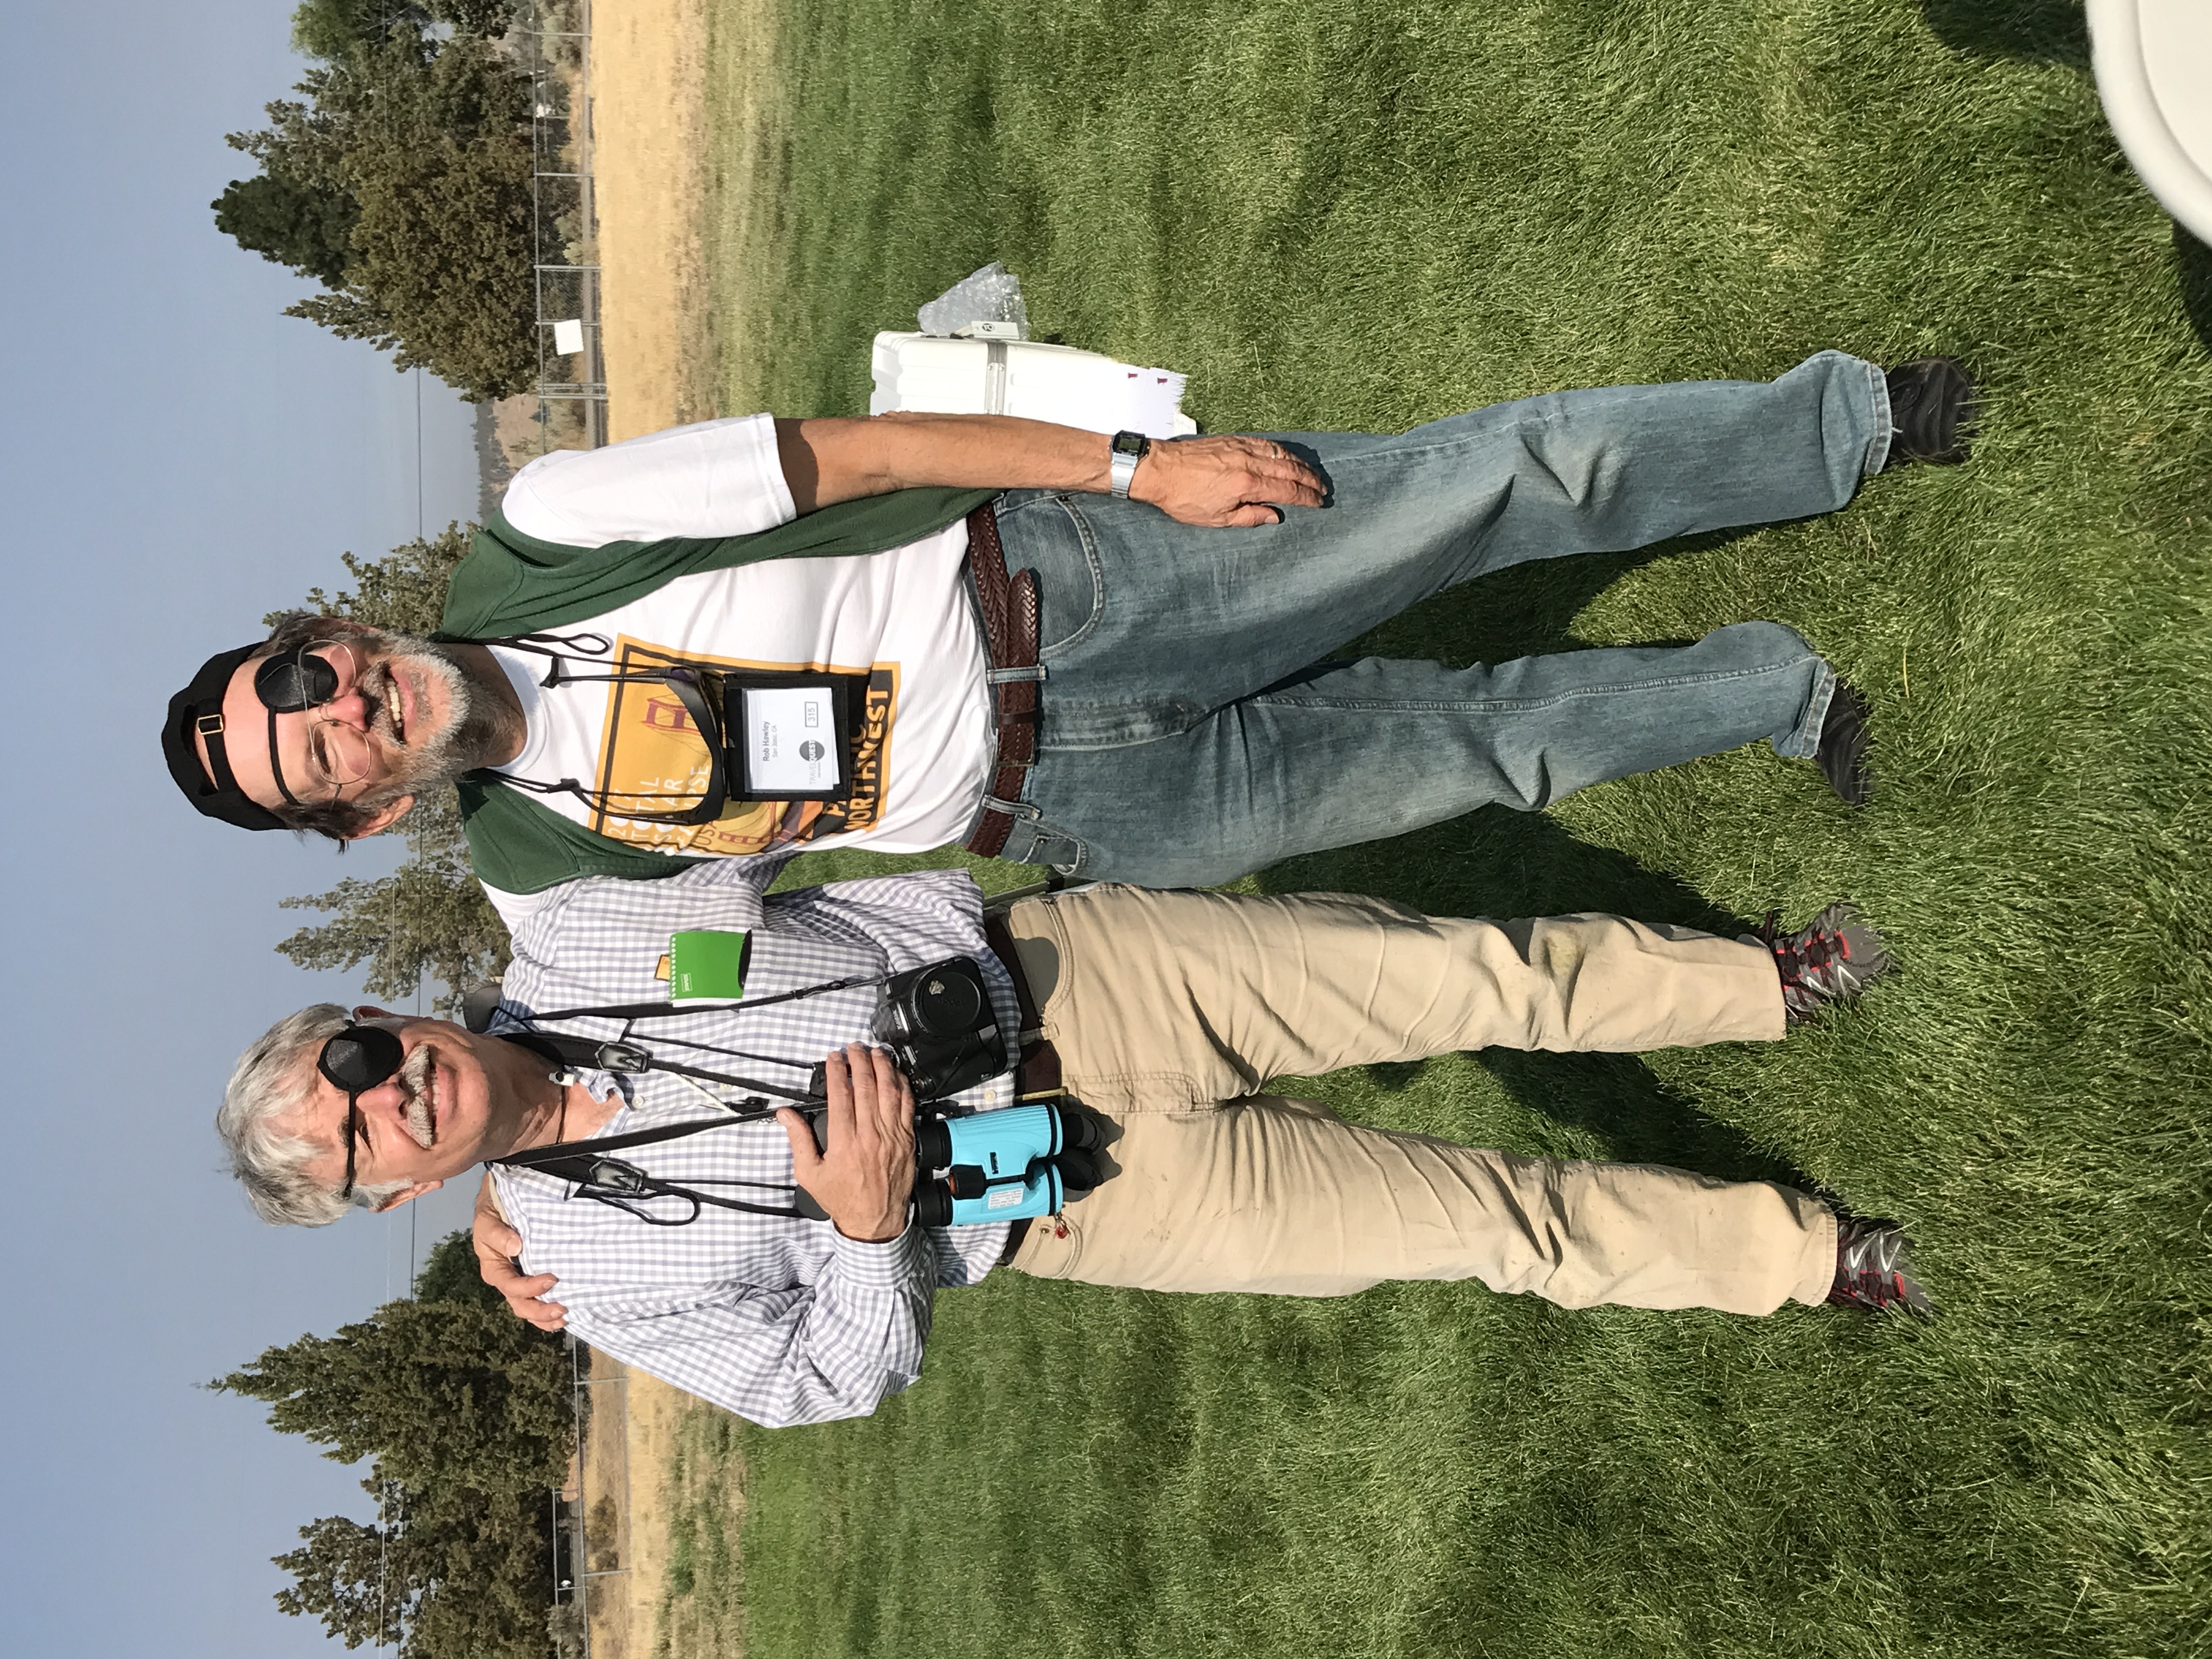 Chris from FPOA and myself
|
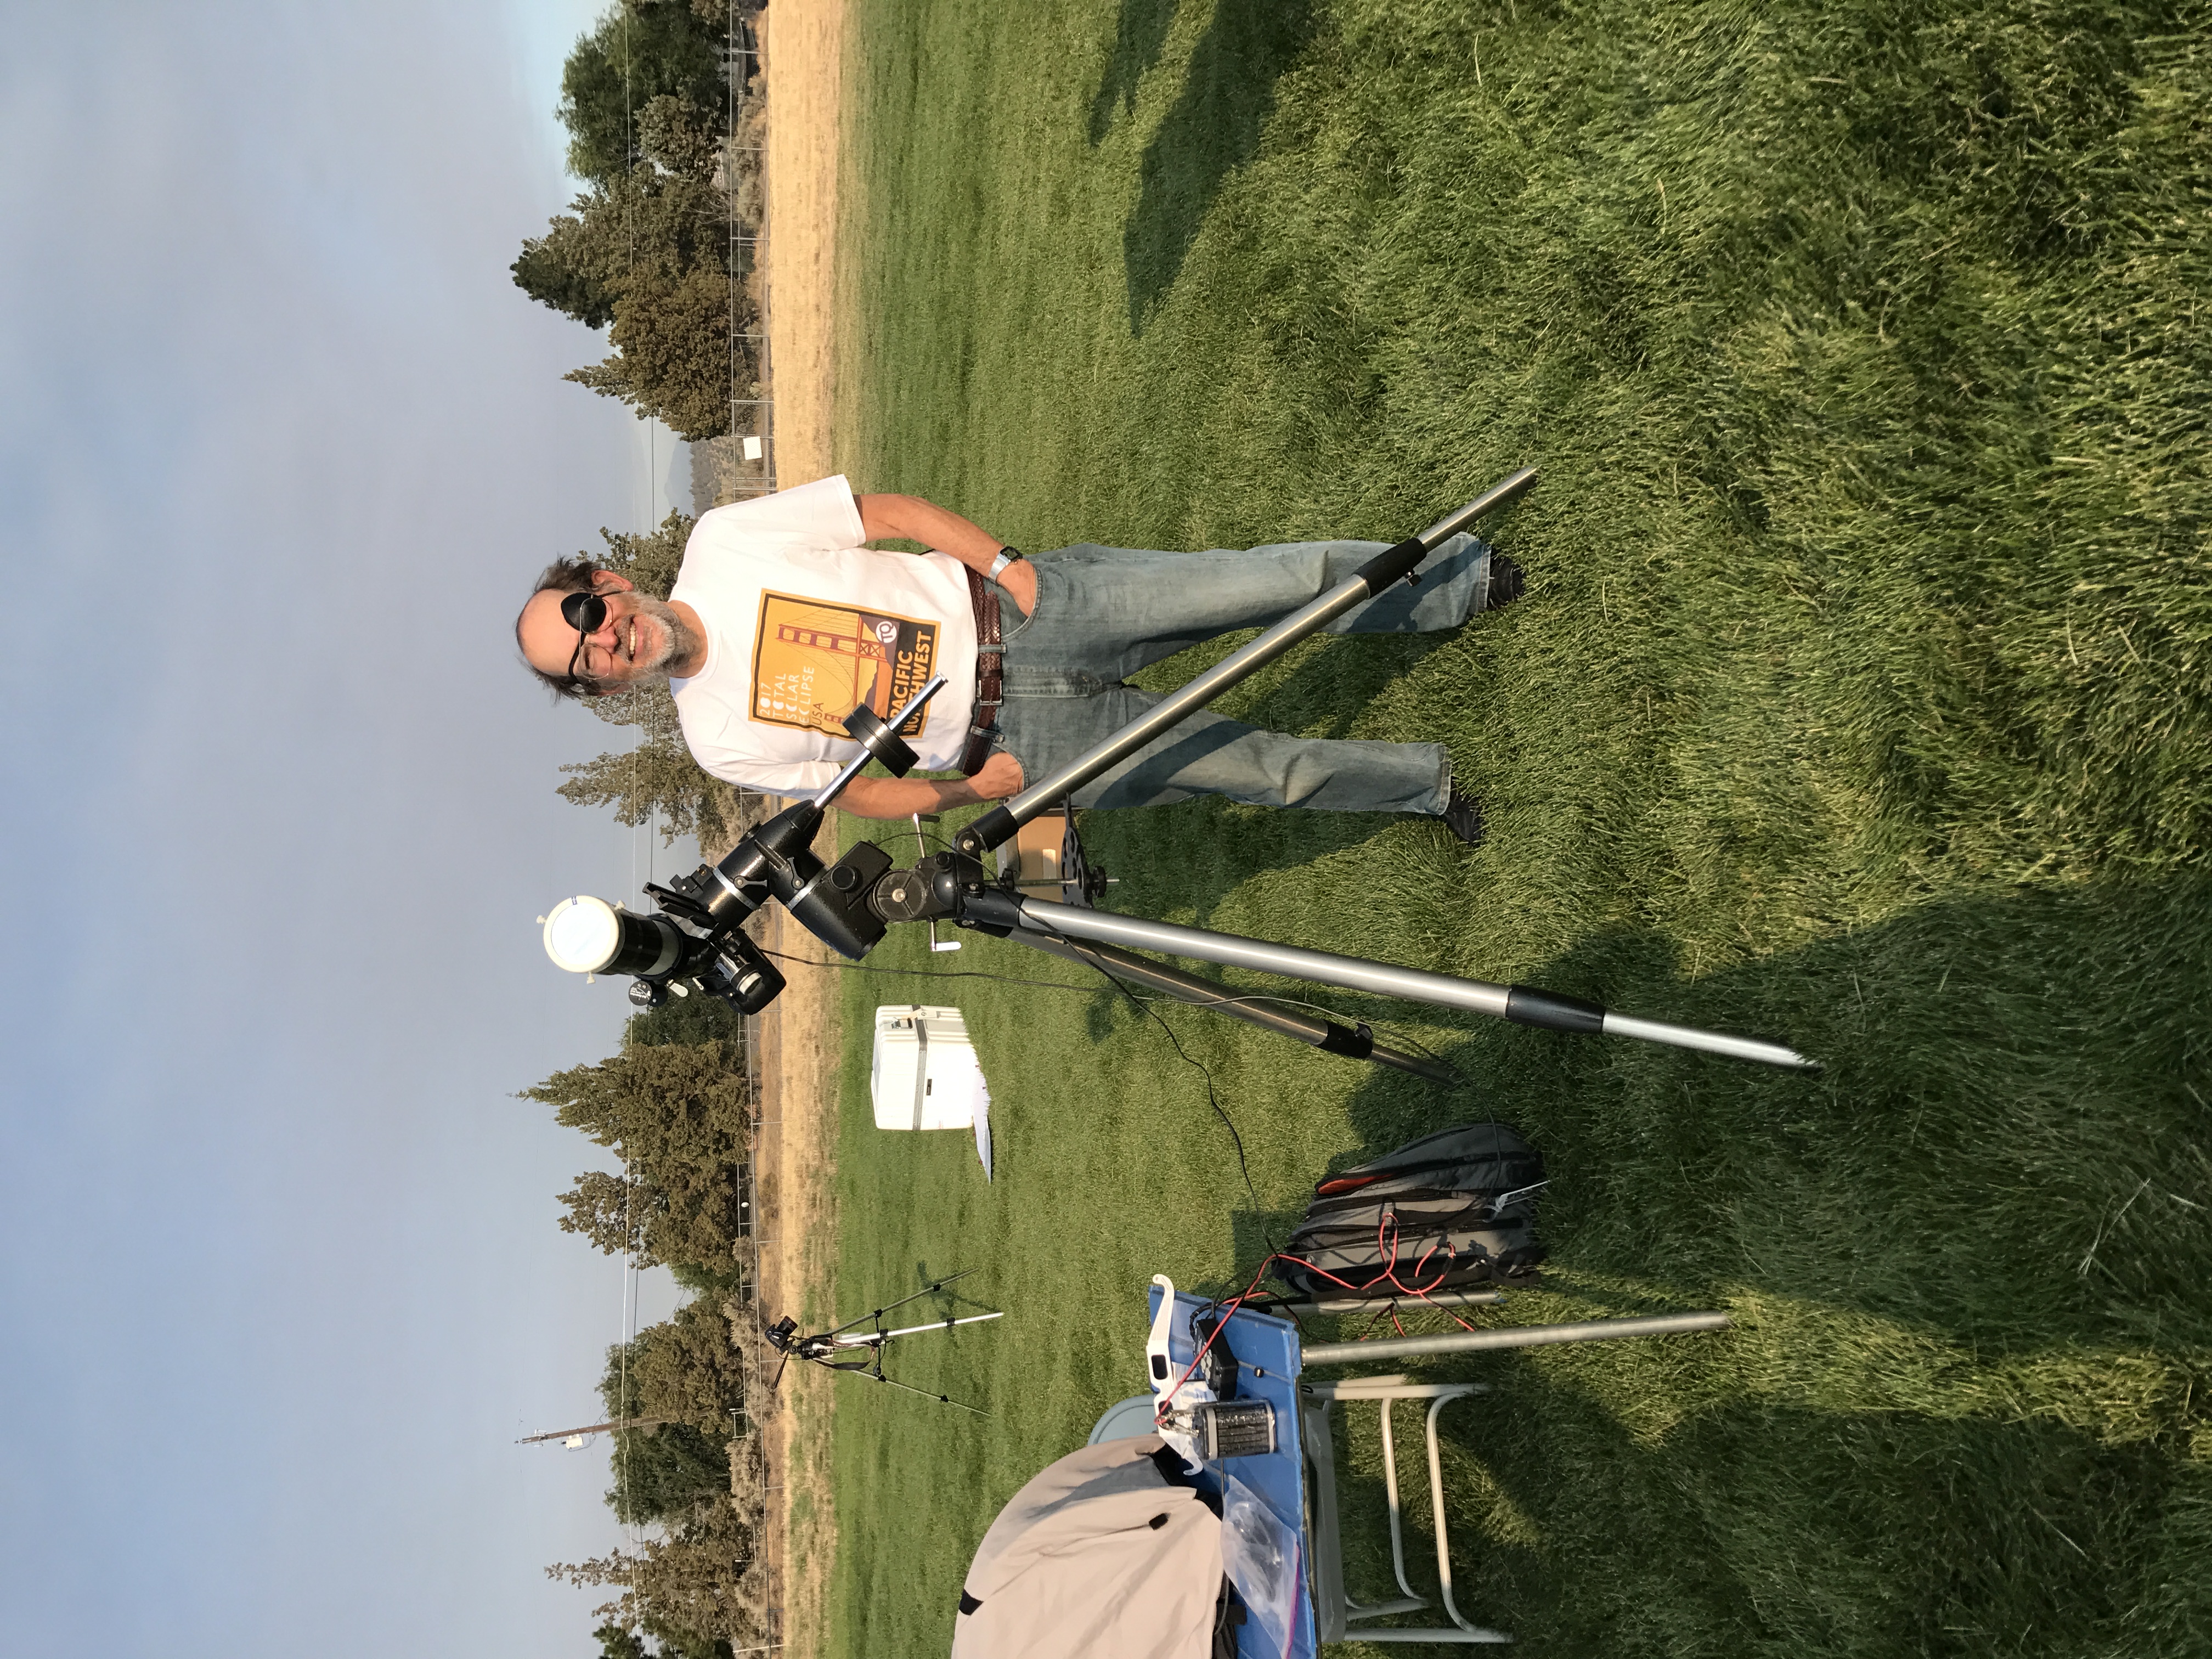 My equipment |
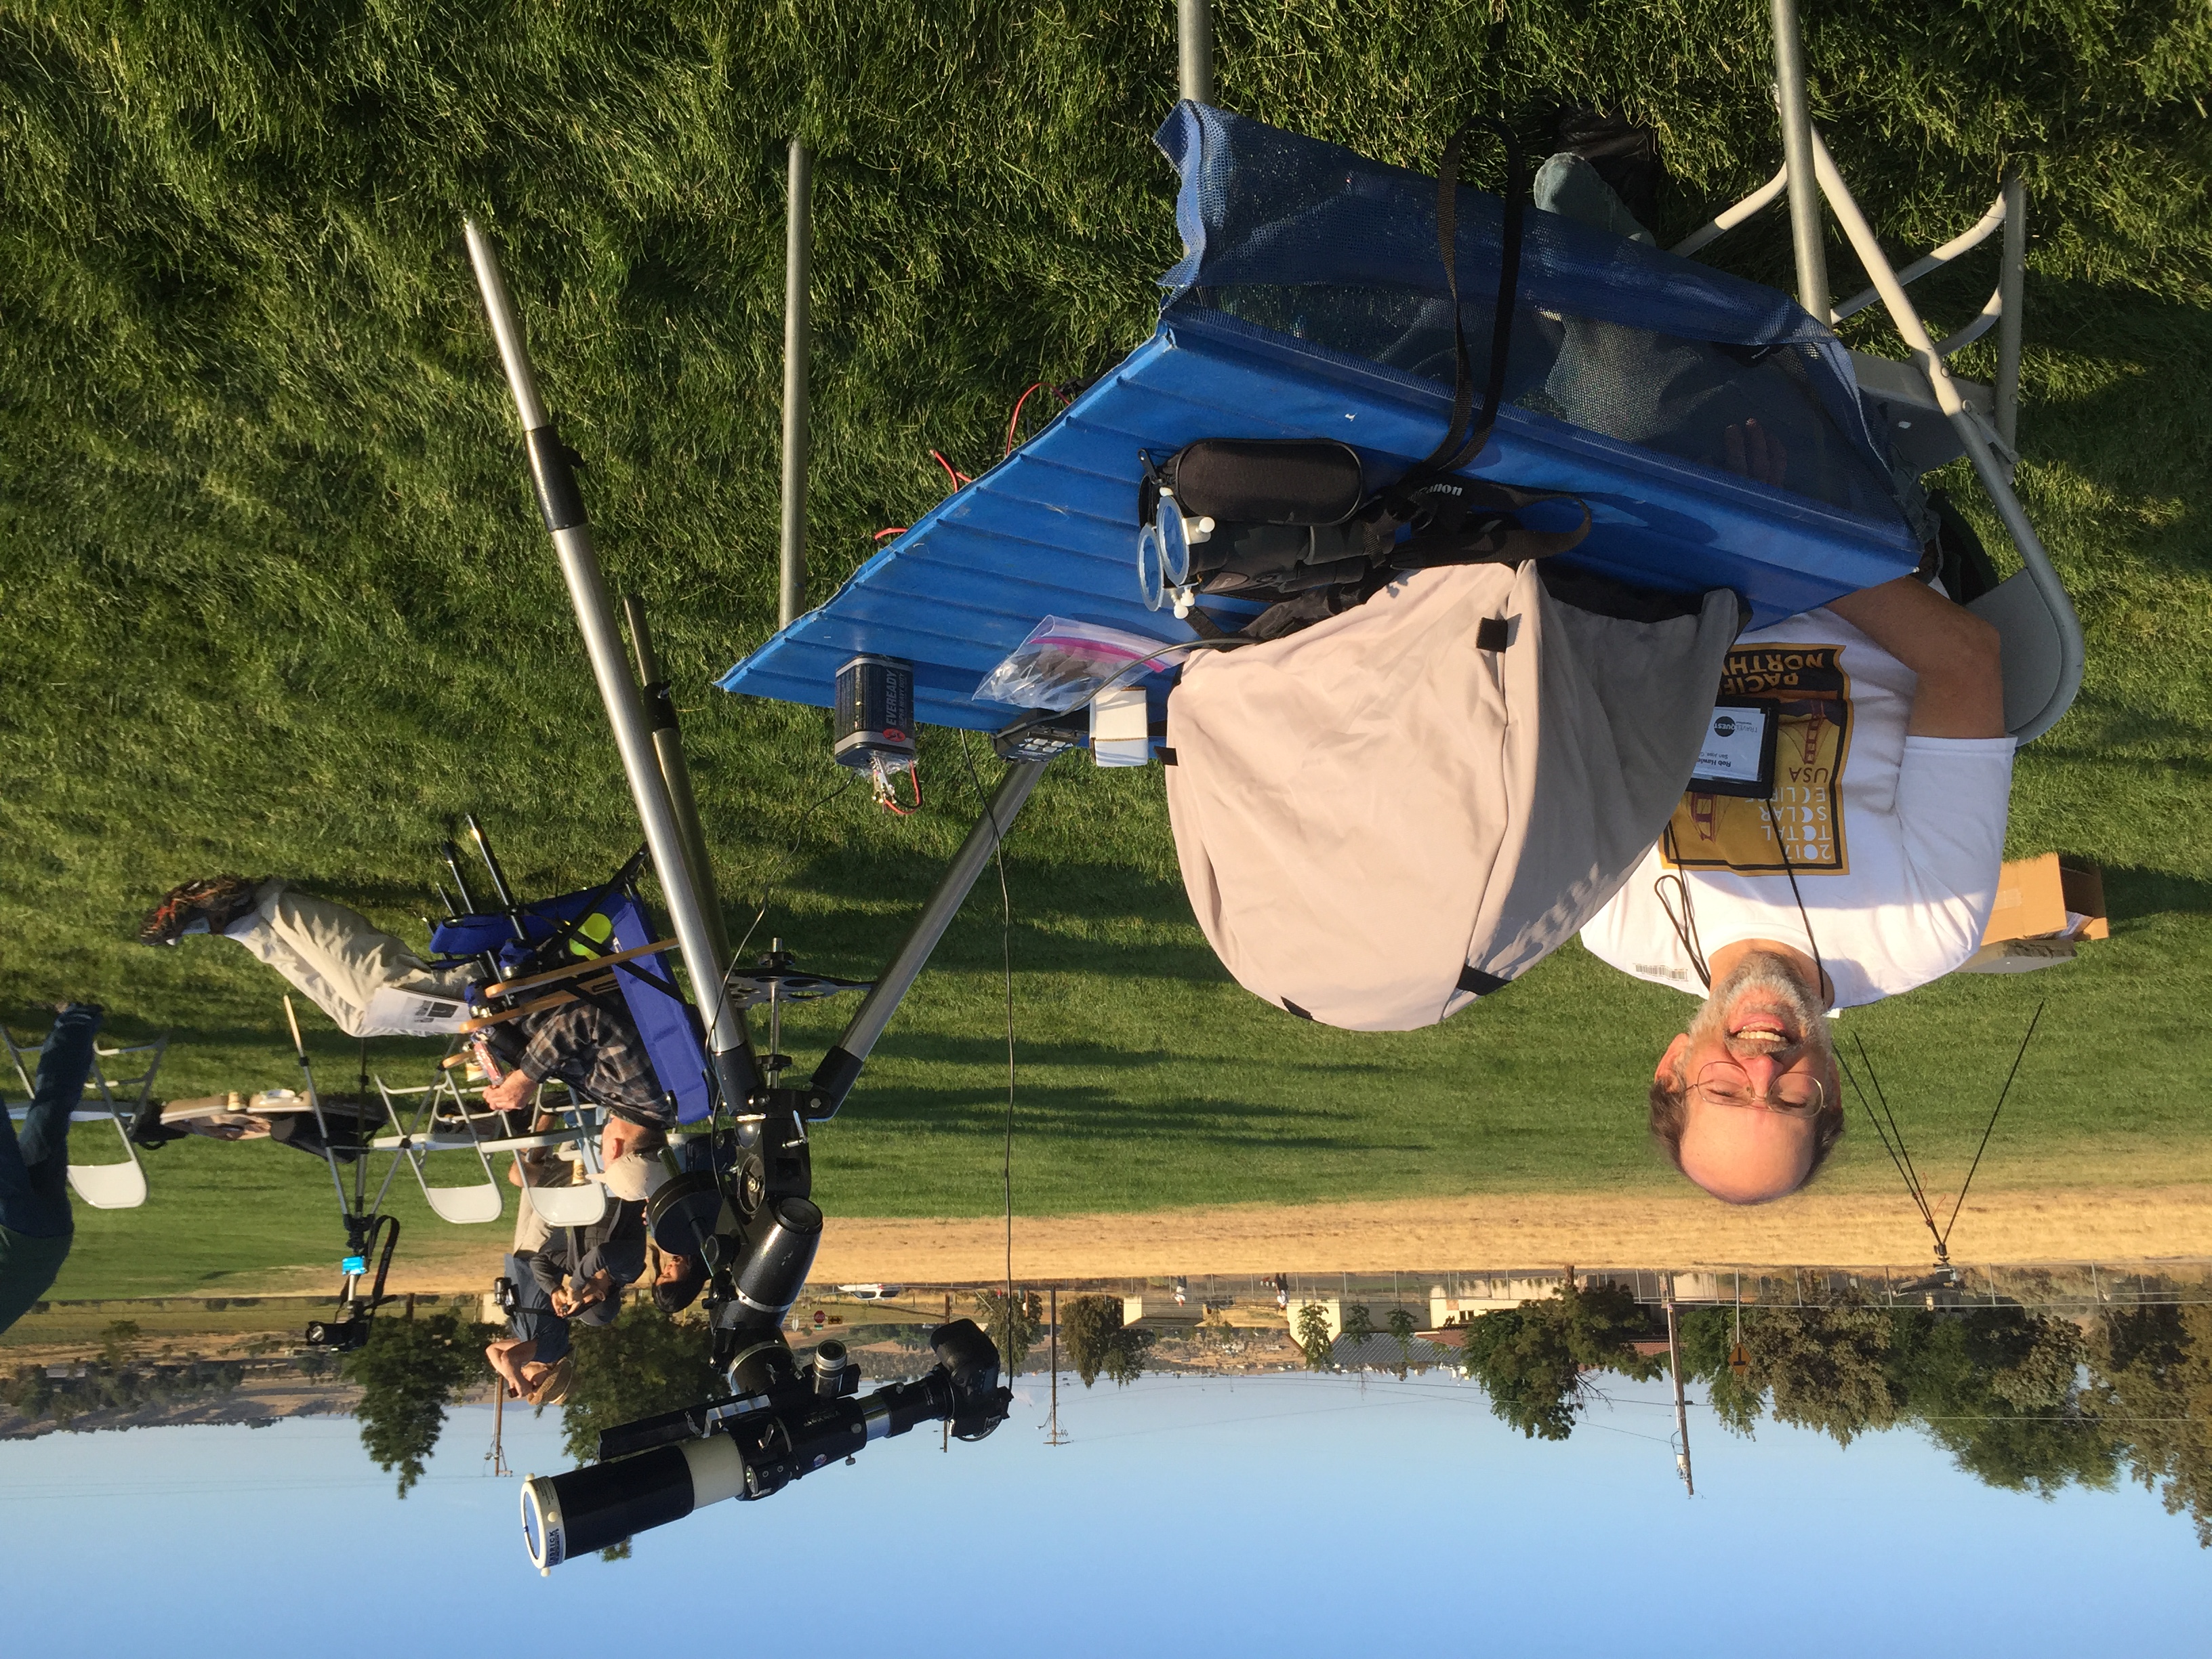 Another of my setup |
|
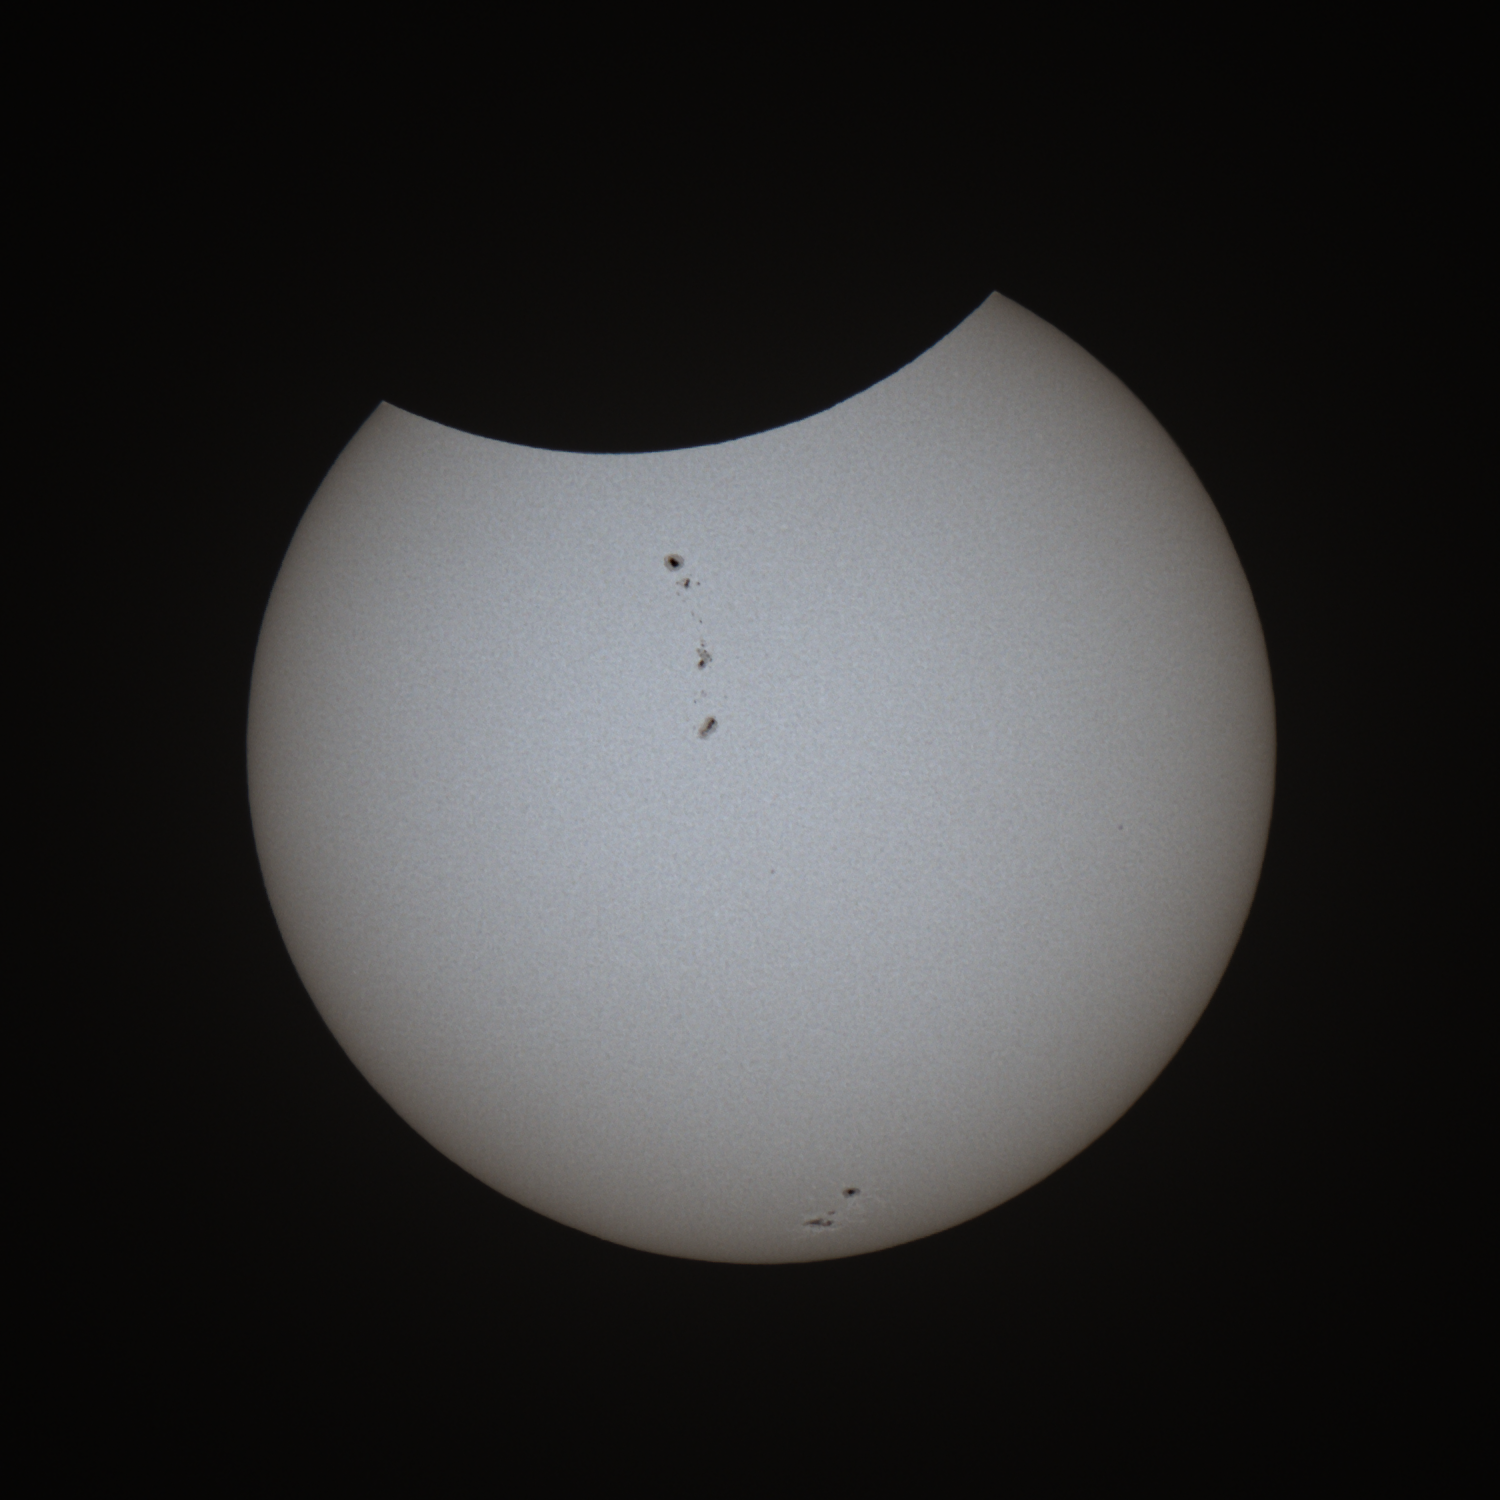 '2017-08-21T16:20:44'
1/350 ISO 100
|
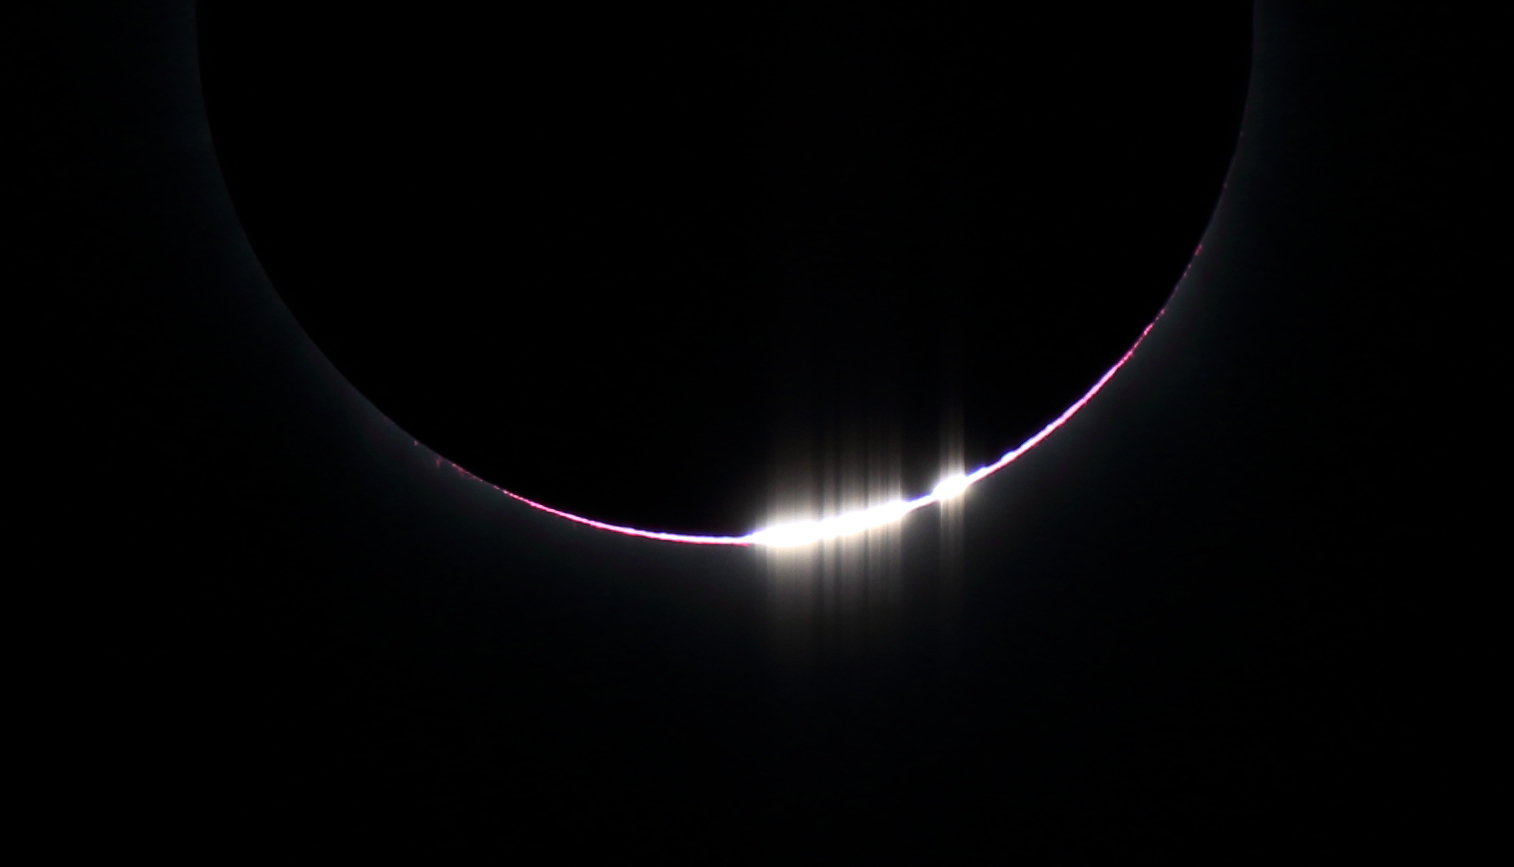
 1/250
|
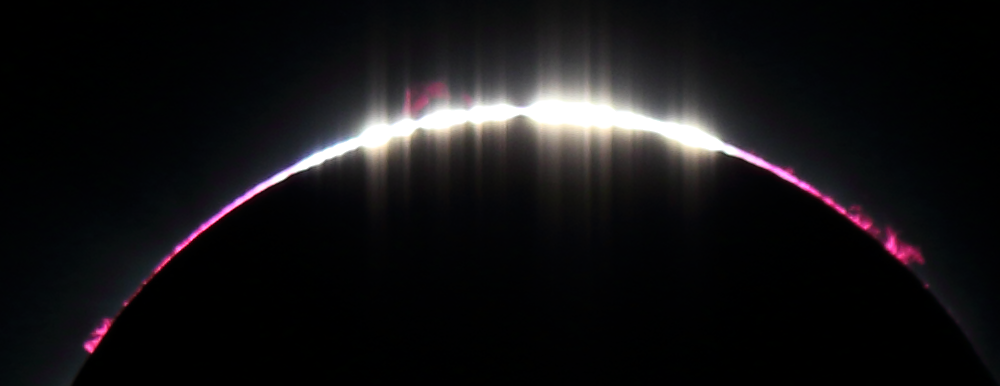
 1/8000
|
 1/4000 |
 1/8000
|
 |
 |
 |
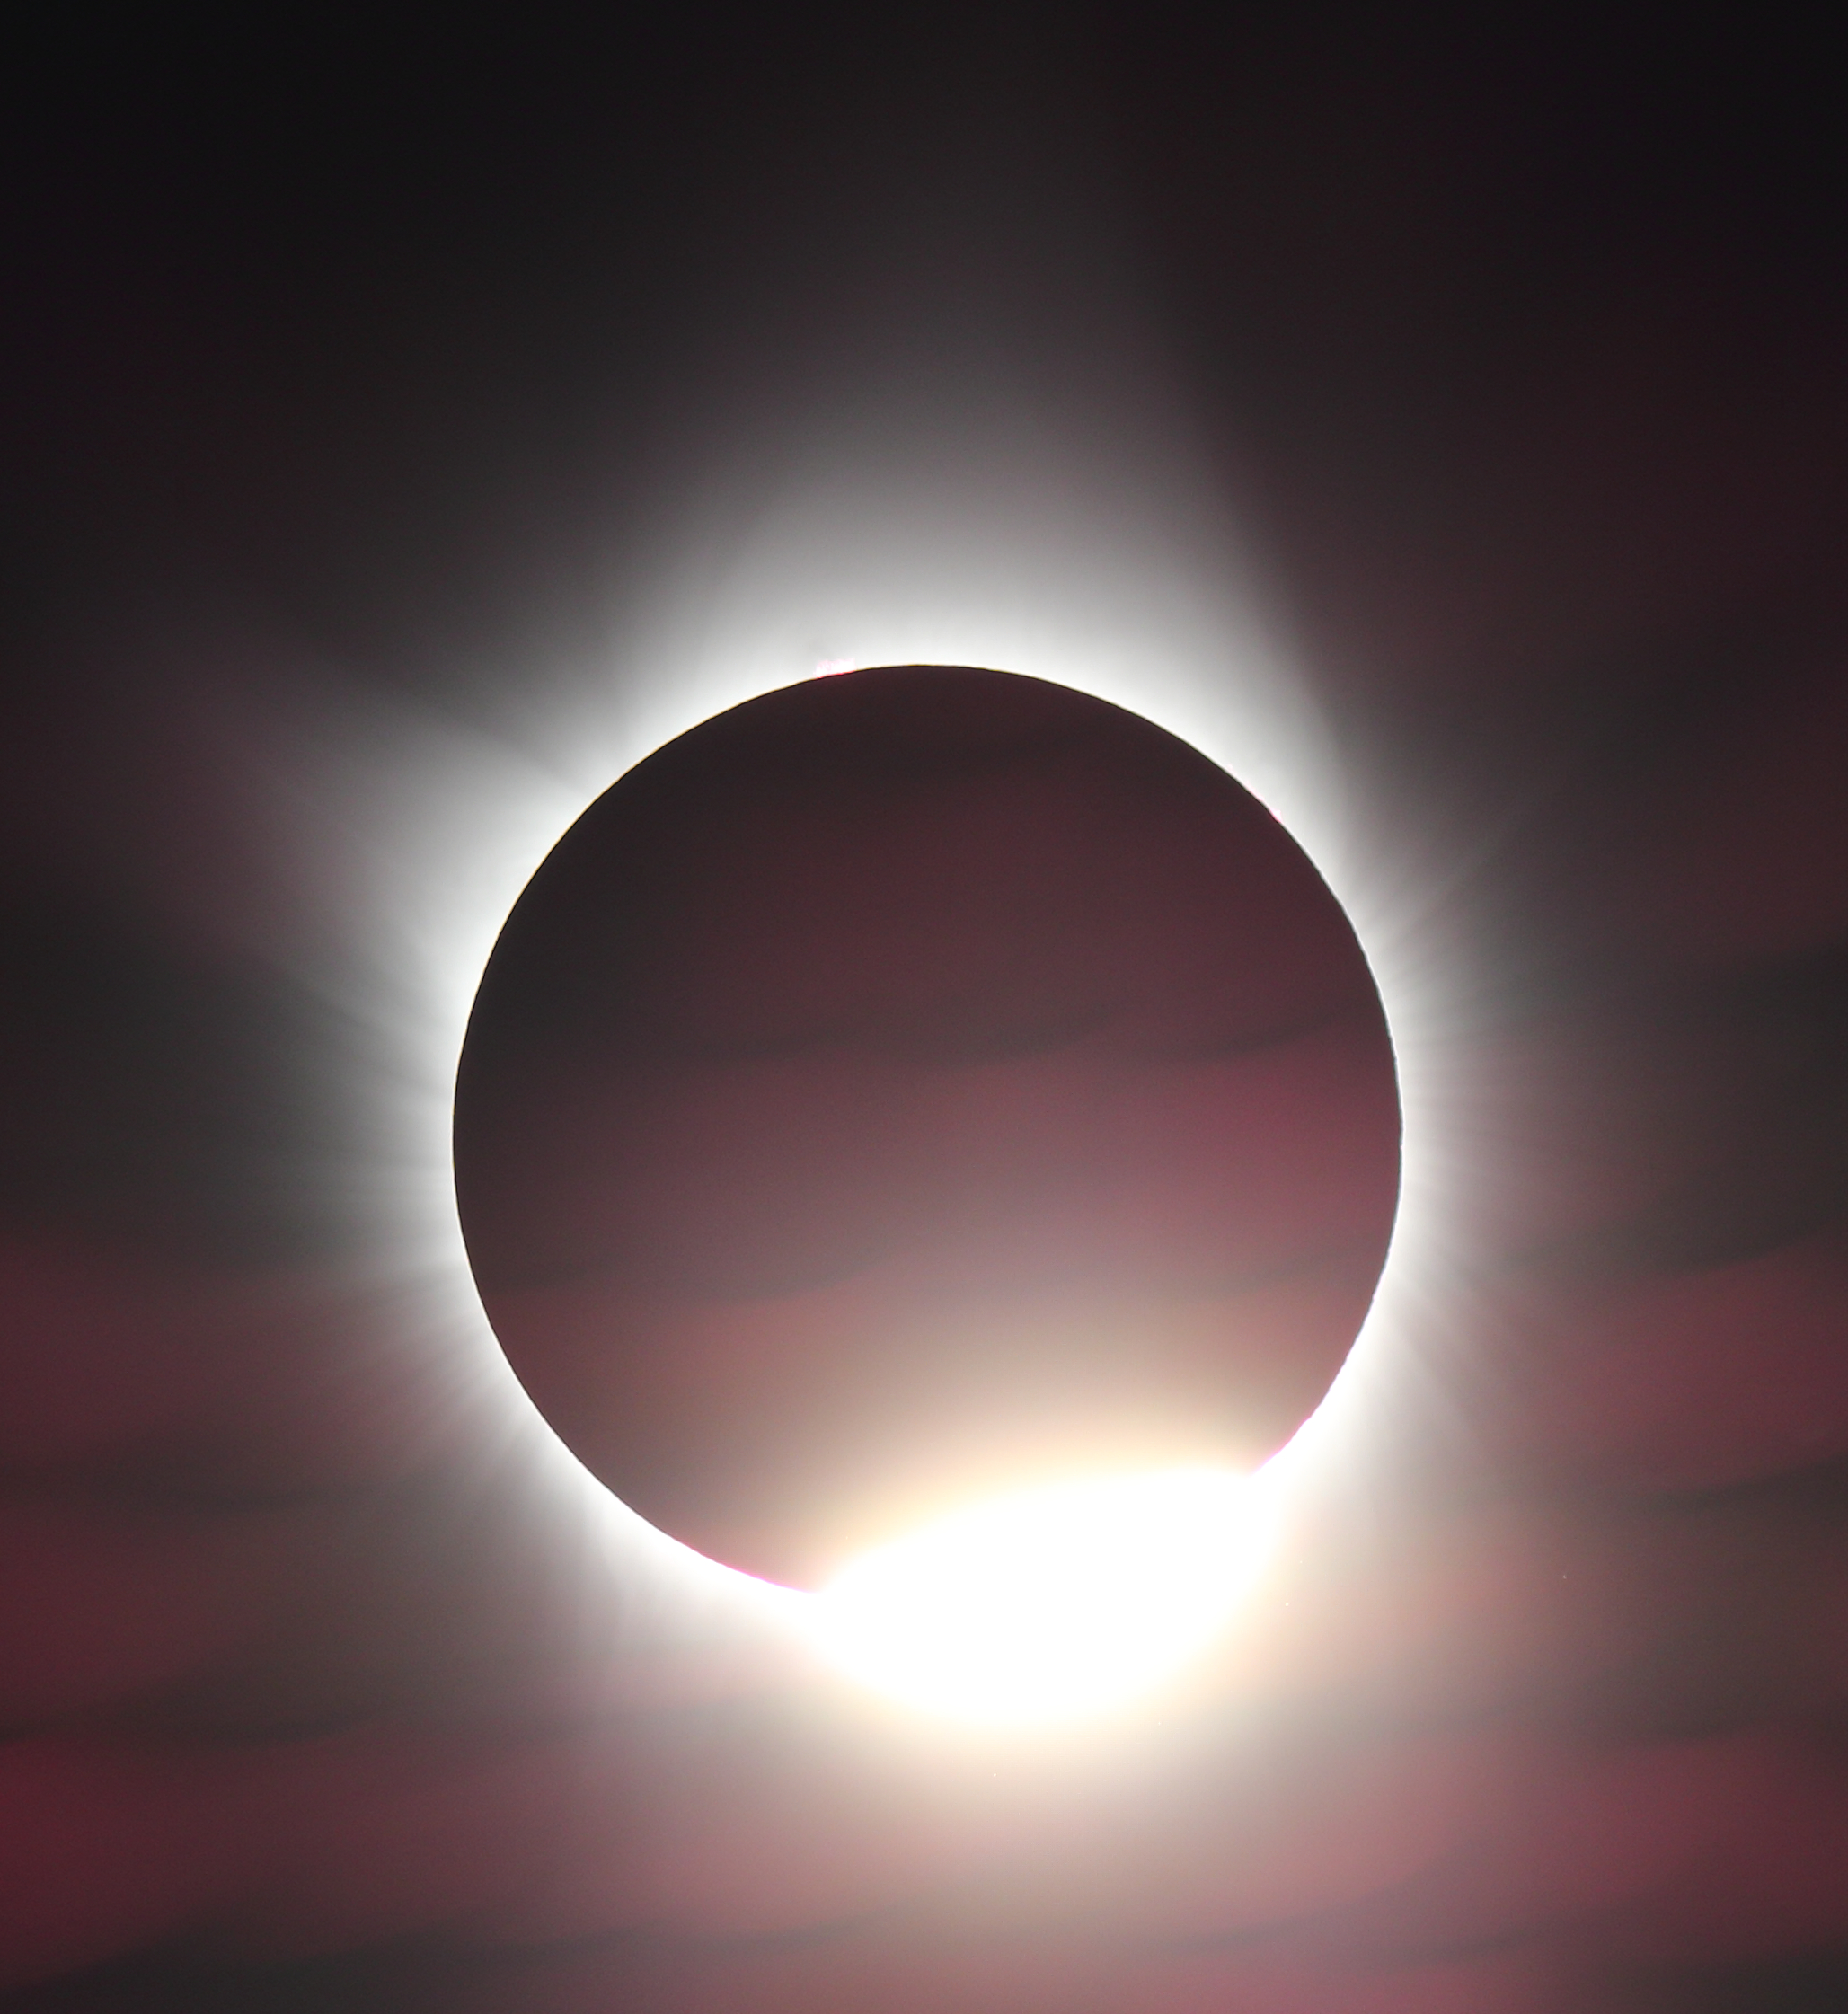
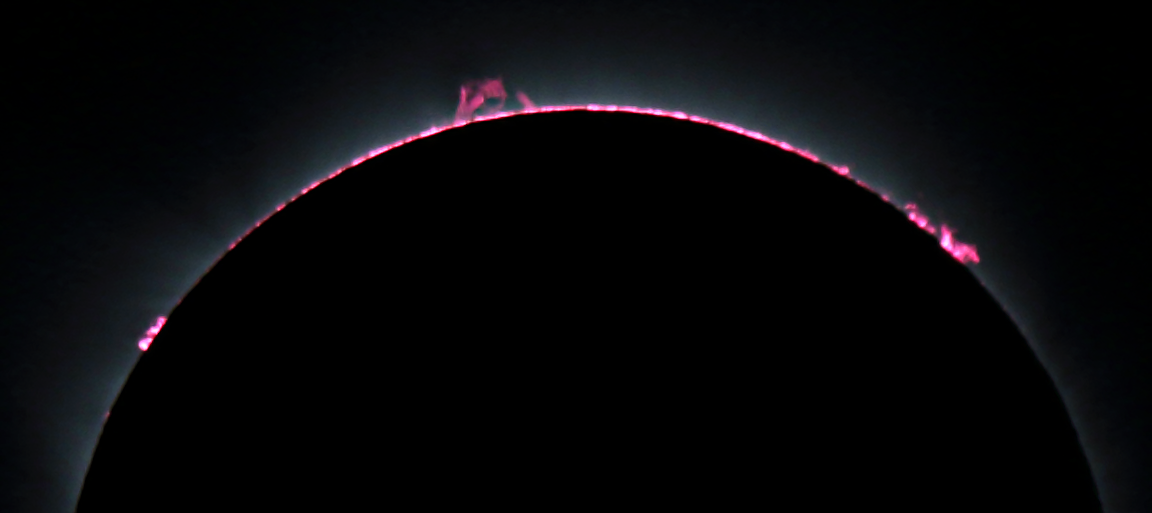
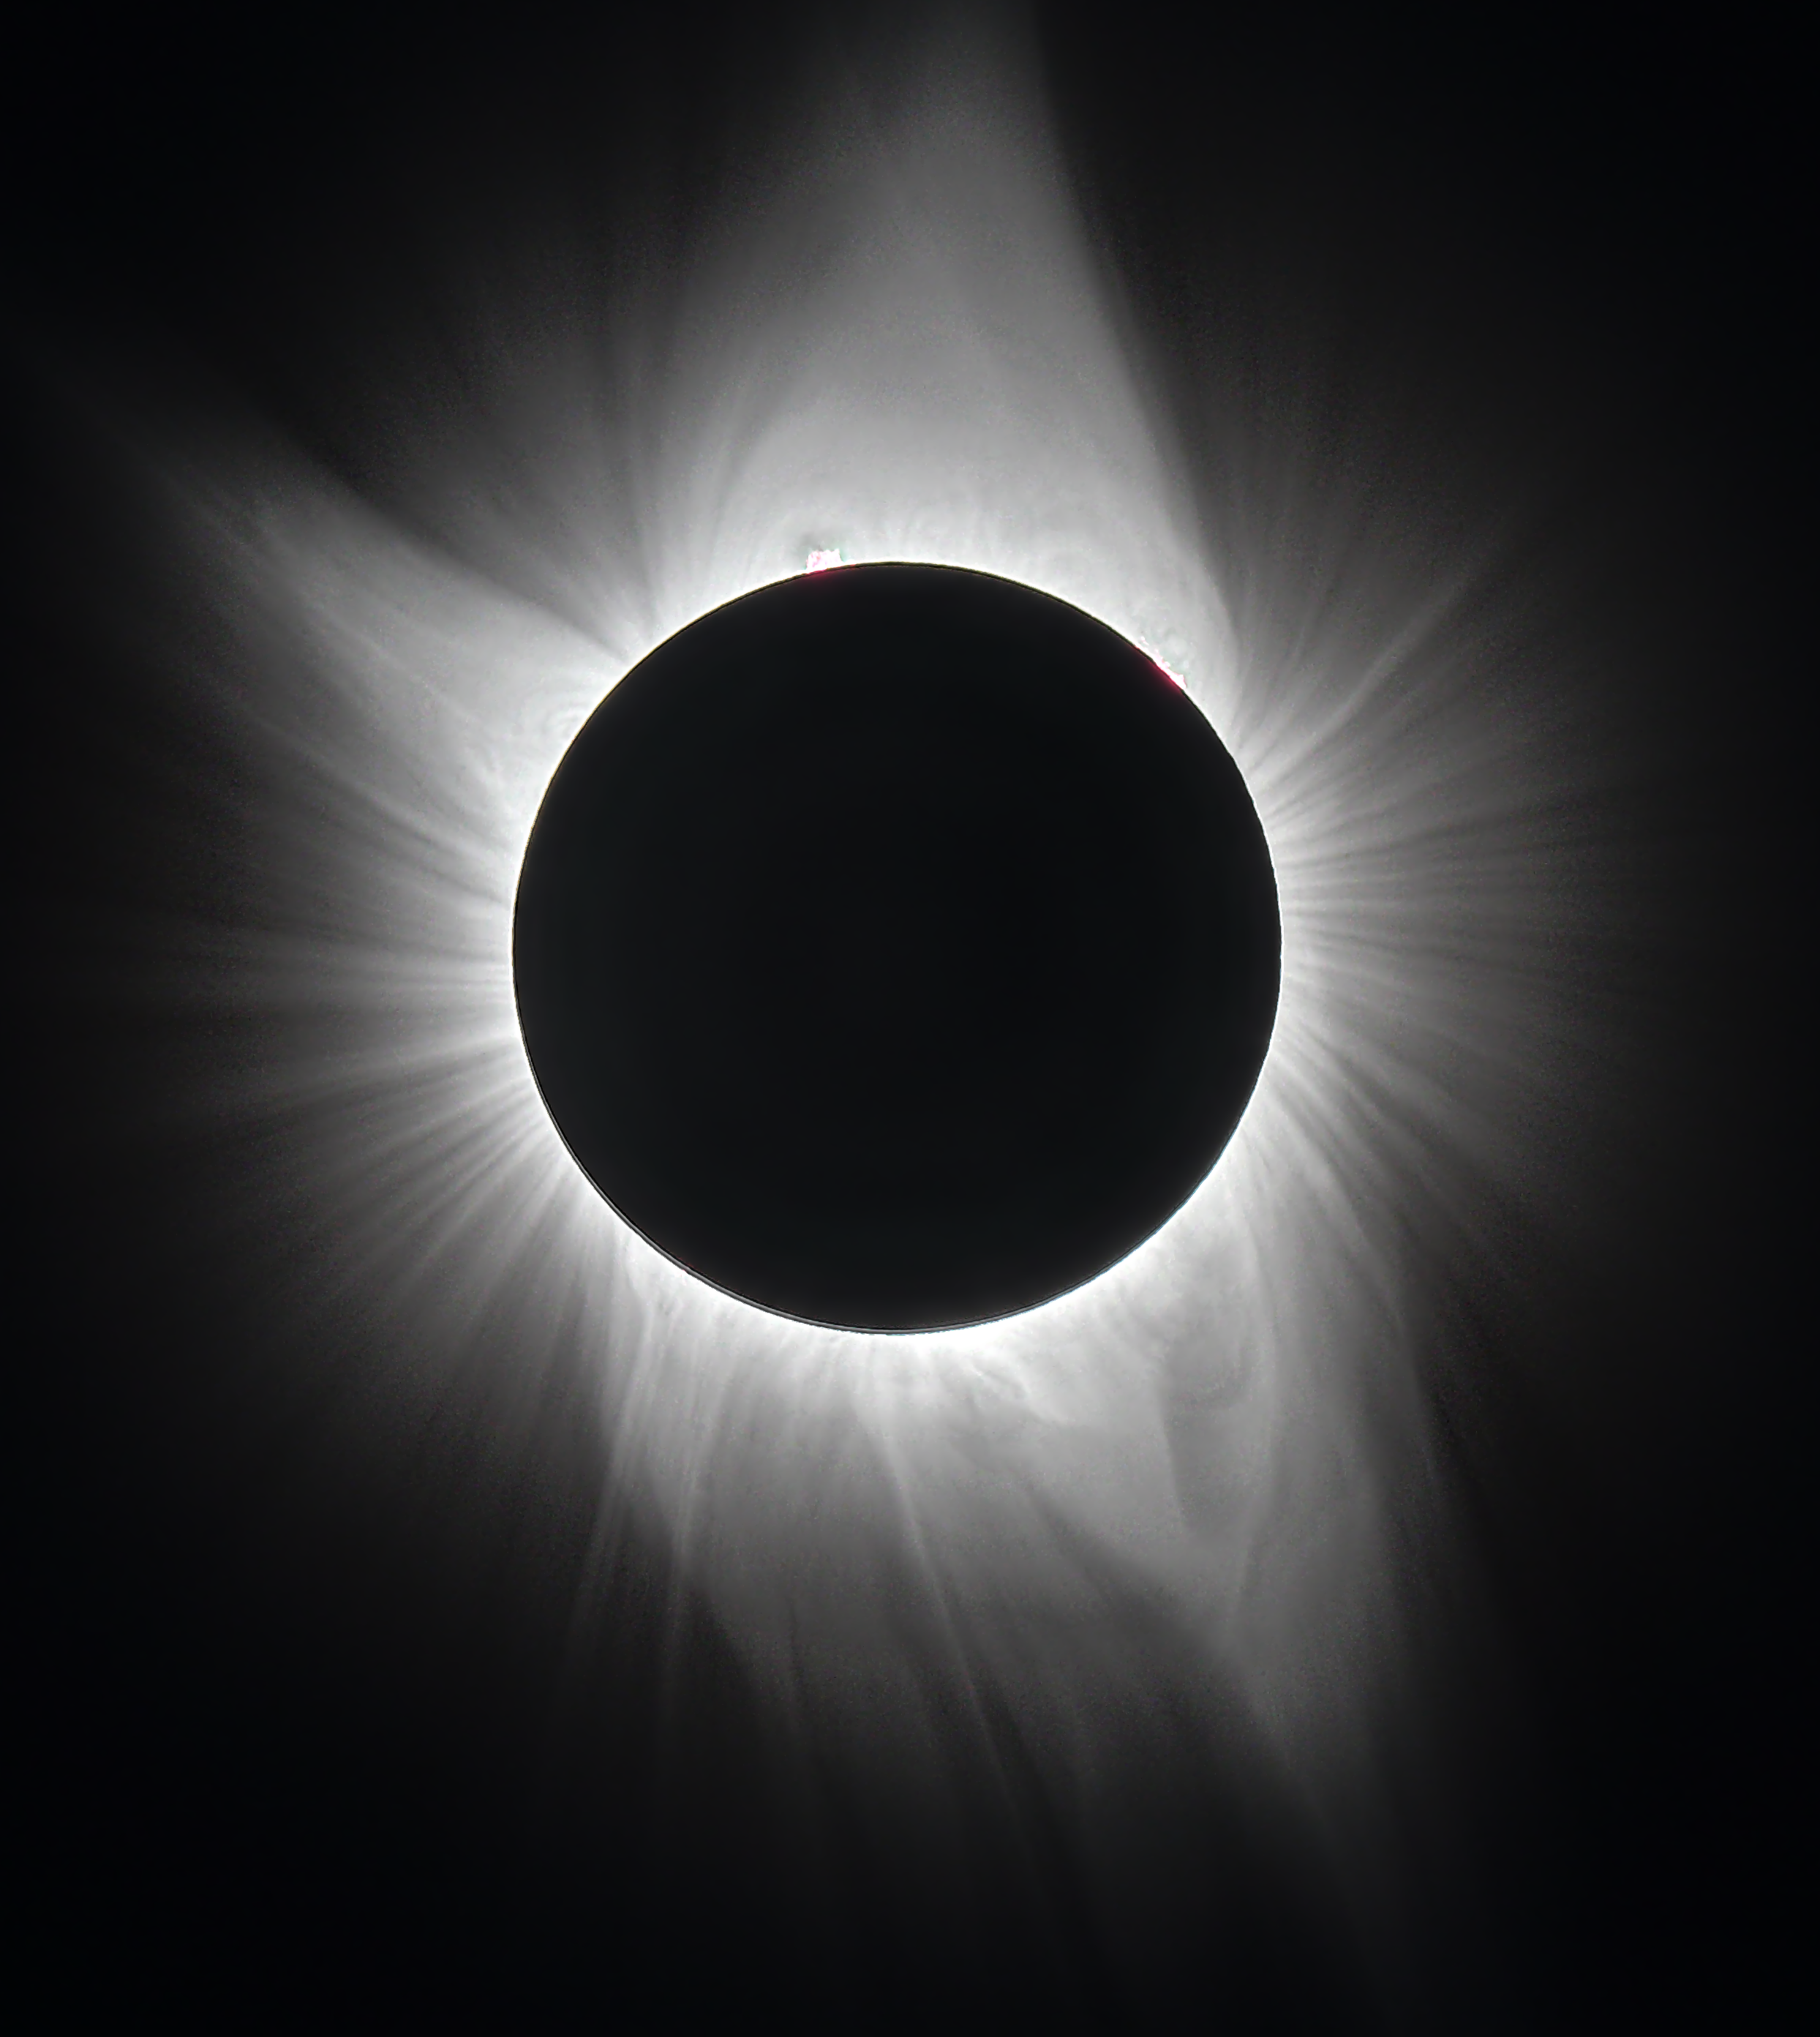
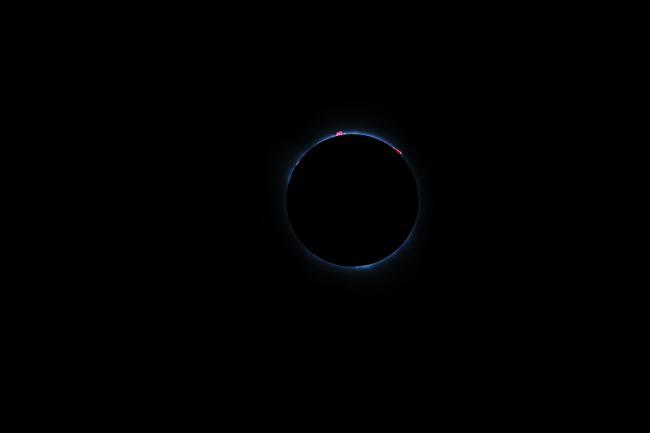
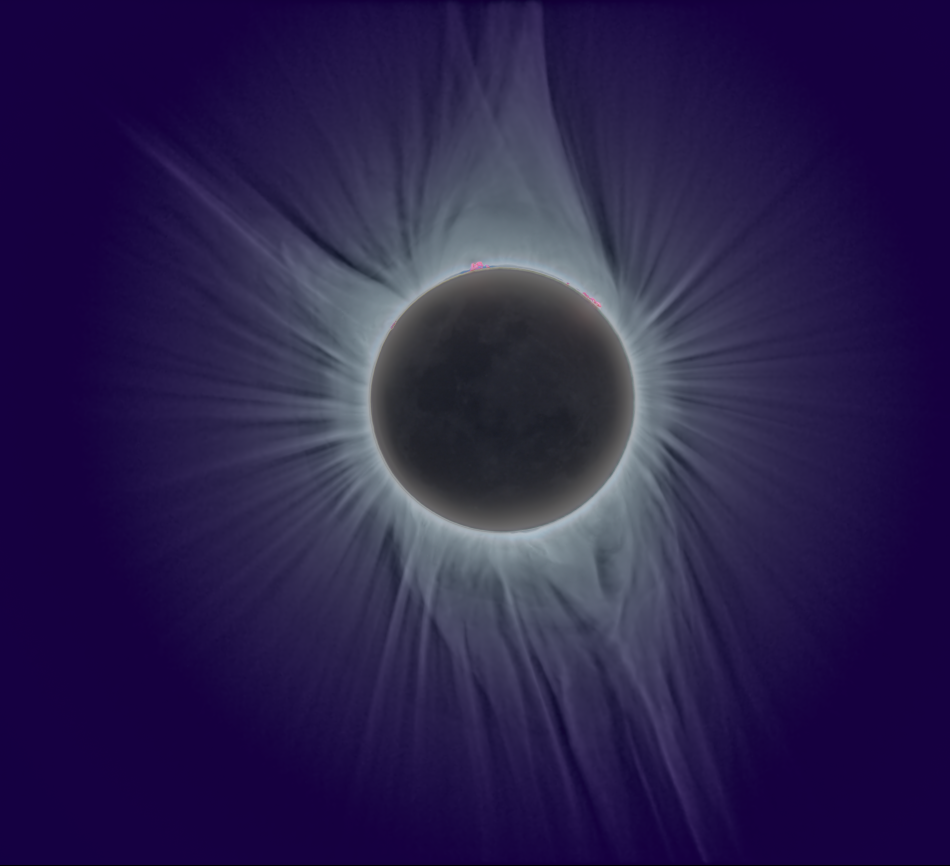 After about two weeks of false starts I finally hit on the way to bring out the outer corona and preserve most of the inner. Above is a slight modification of the former HDR3 image I posted on 9/8. I felt the colors were too saturated in the HDR3 so I used Luminance (detail) from that image and combined it with the Chrominance (colors) from the result of applying the ln equation as described below. The result is closer to my memory of the actual corona color. The moon and prominences are from an a different version chain so it is not "Photoshopped". Note the triple helmet streamer at 12 o'clock. Showing the moon is an aesthetic decision. I did versions with a prominent moon. In the end I decided that providing a little moon was better. |
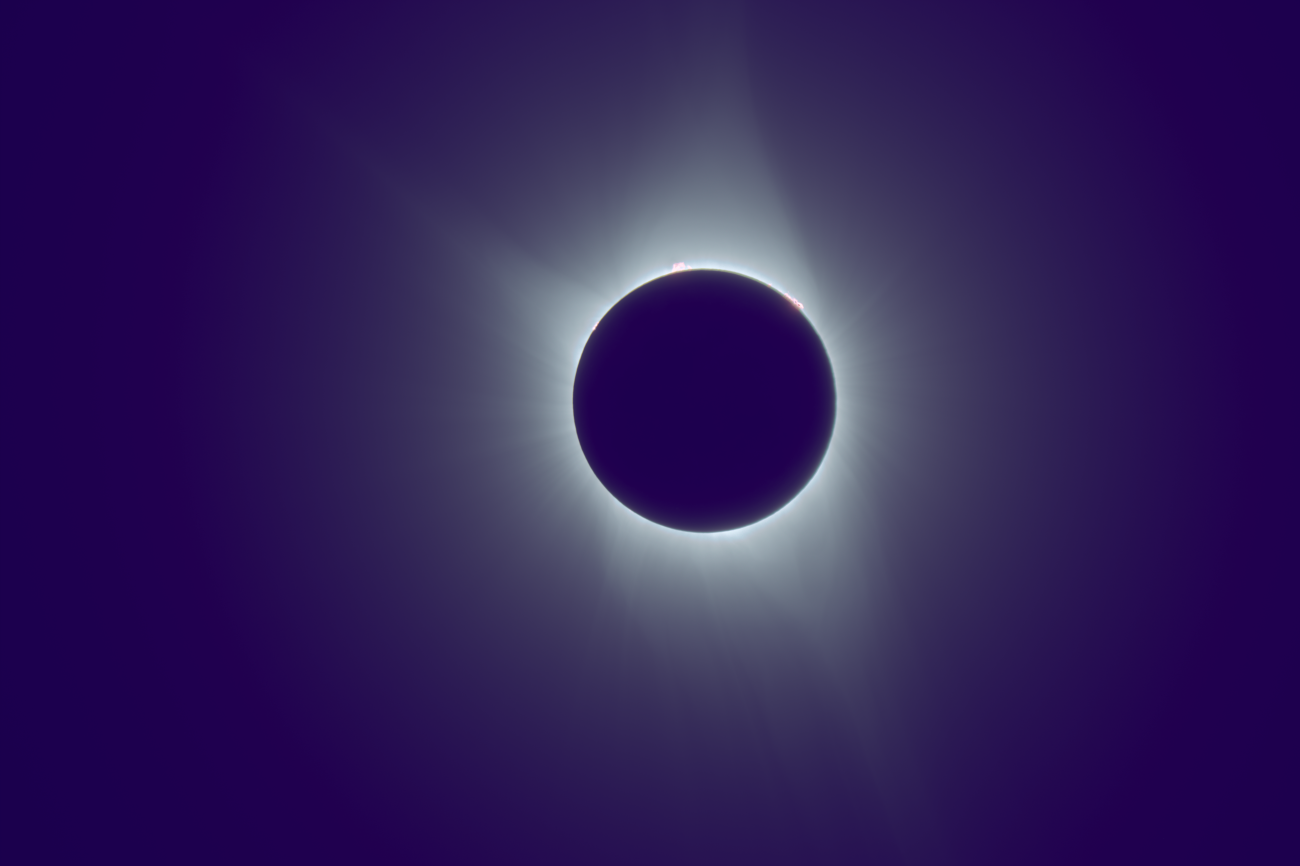
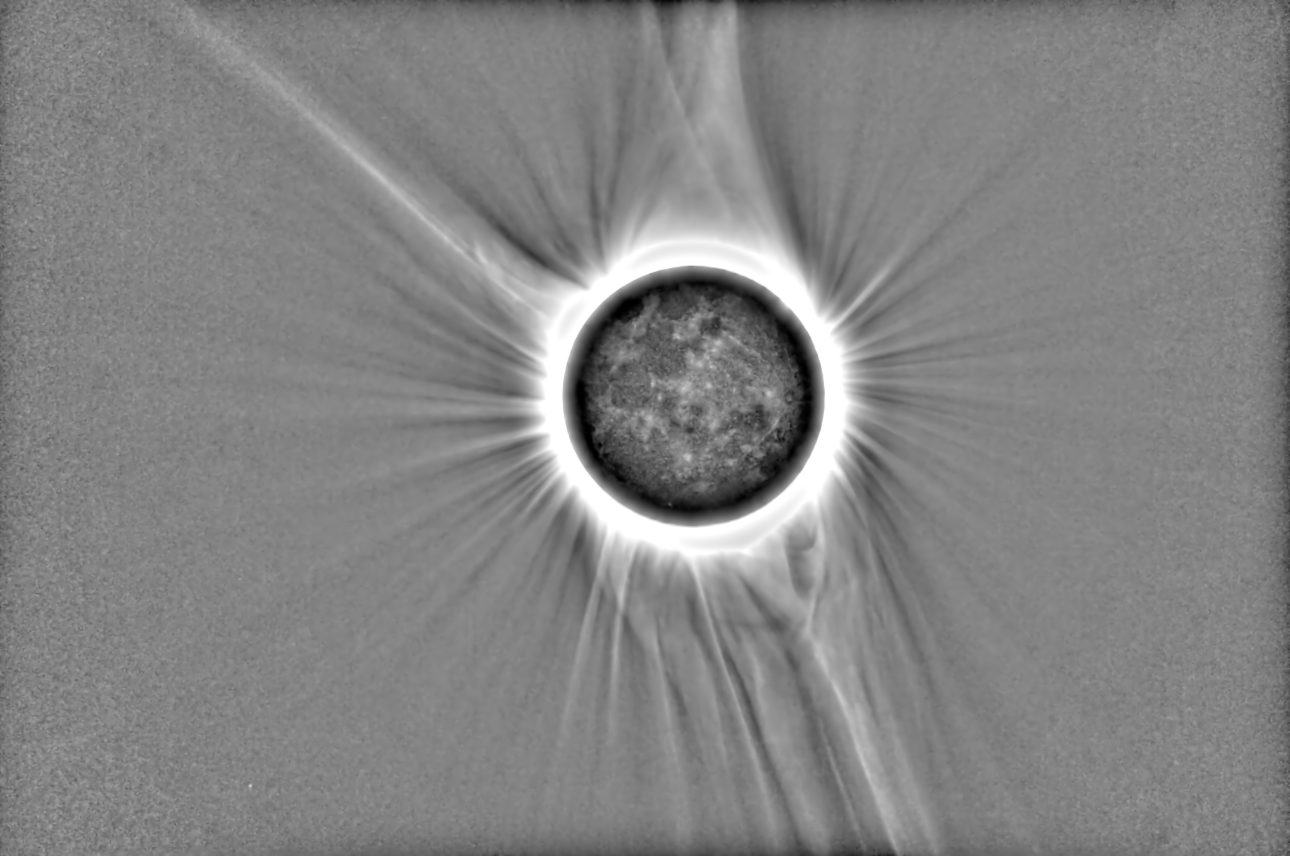 This HDR created by Photomatix
highlights the structure in the outer corona even though it is not
itself an aesthetic picture.
|
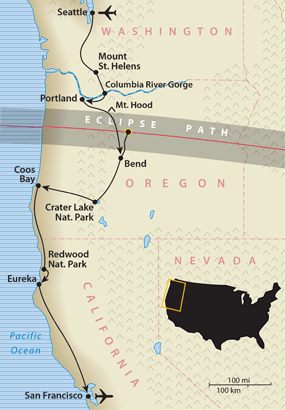 |
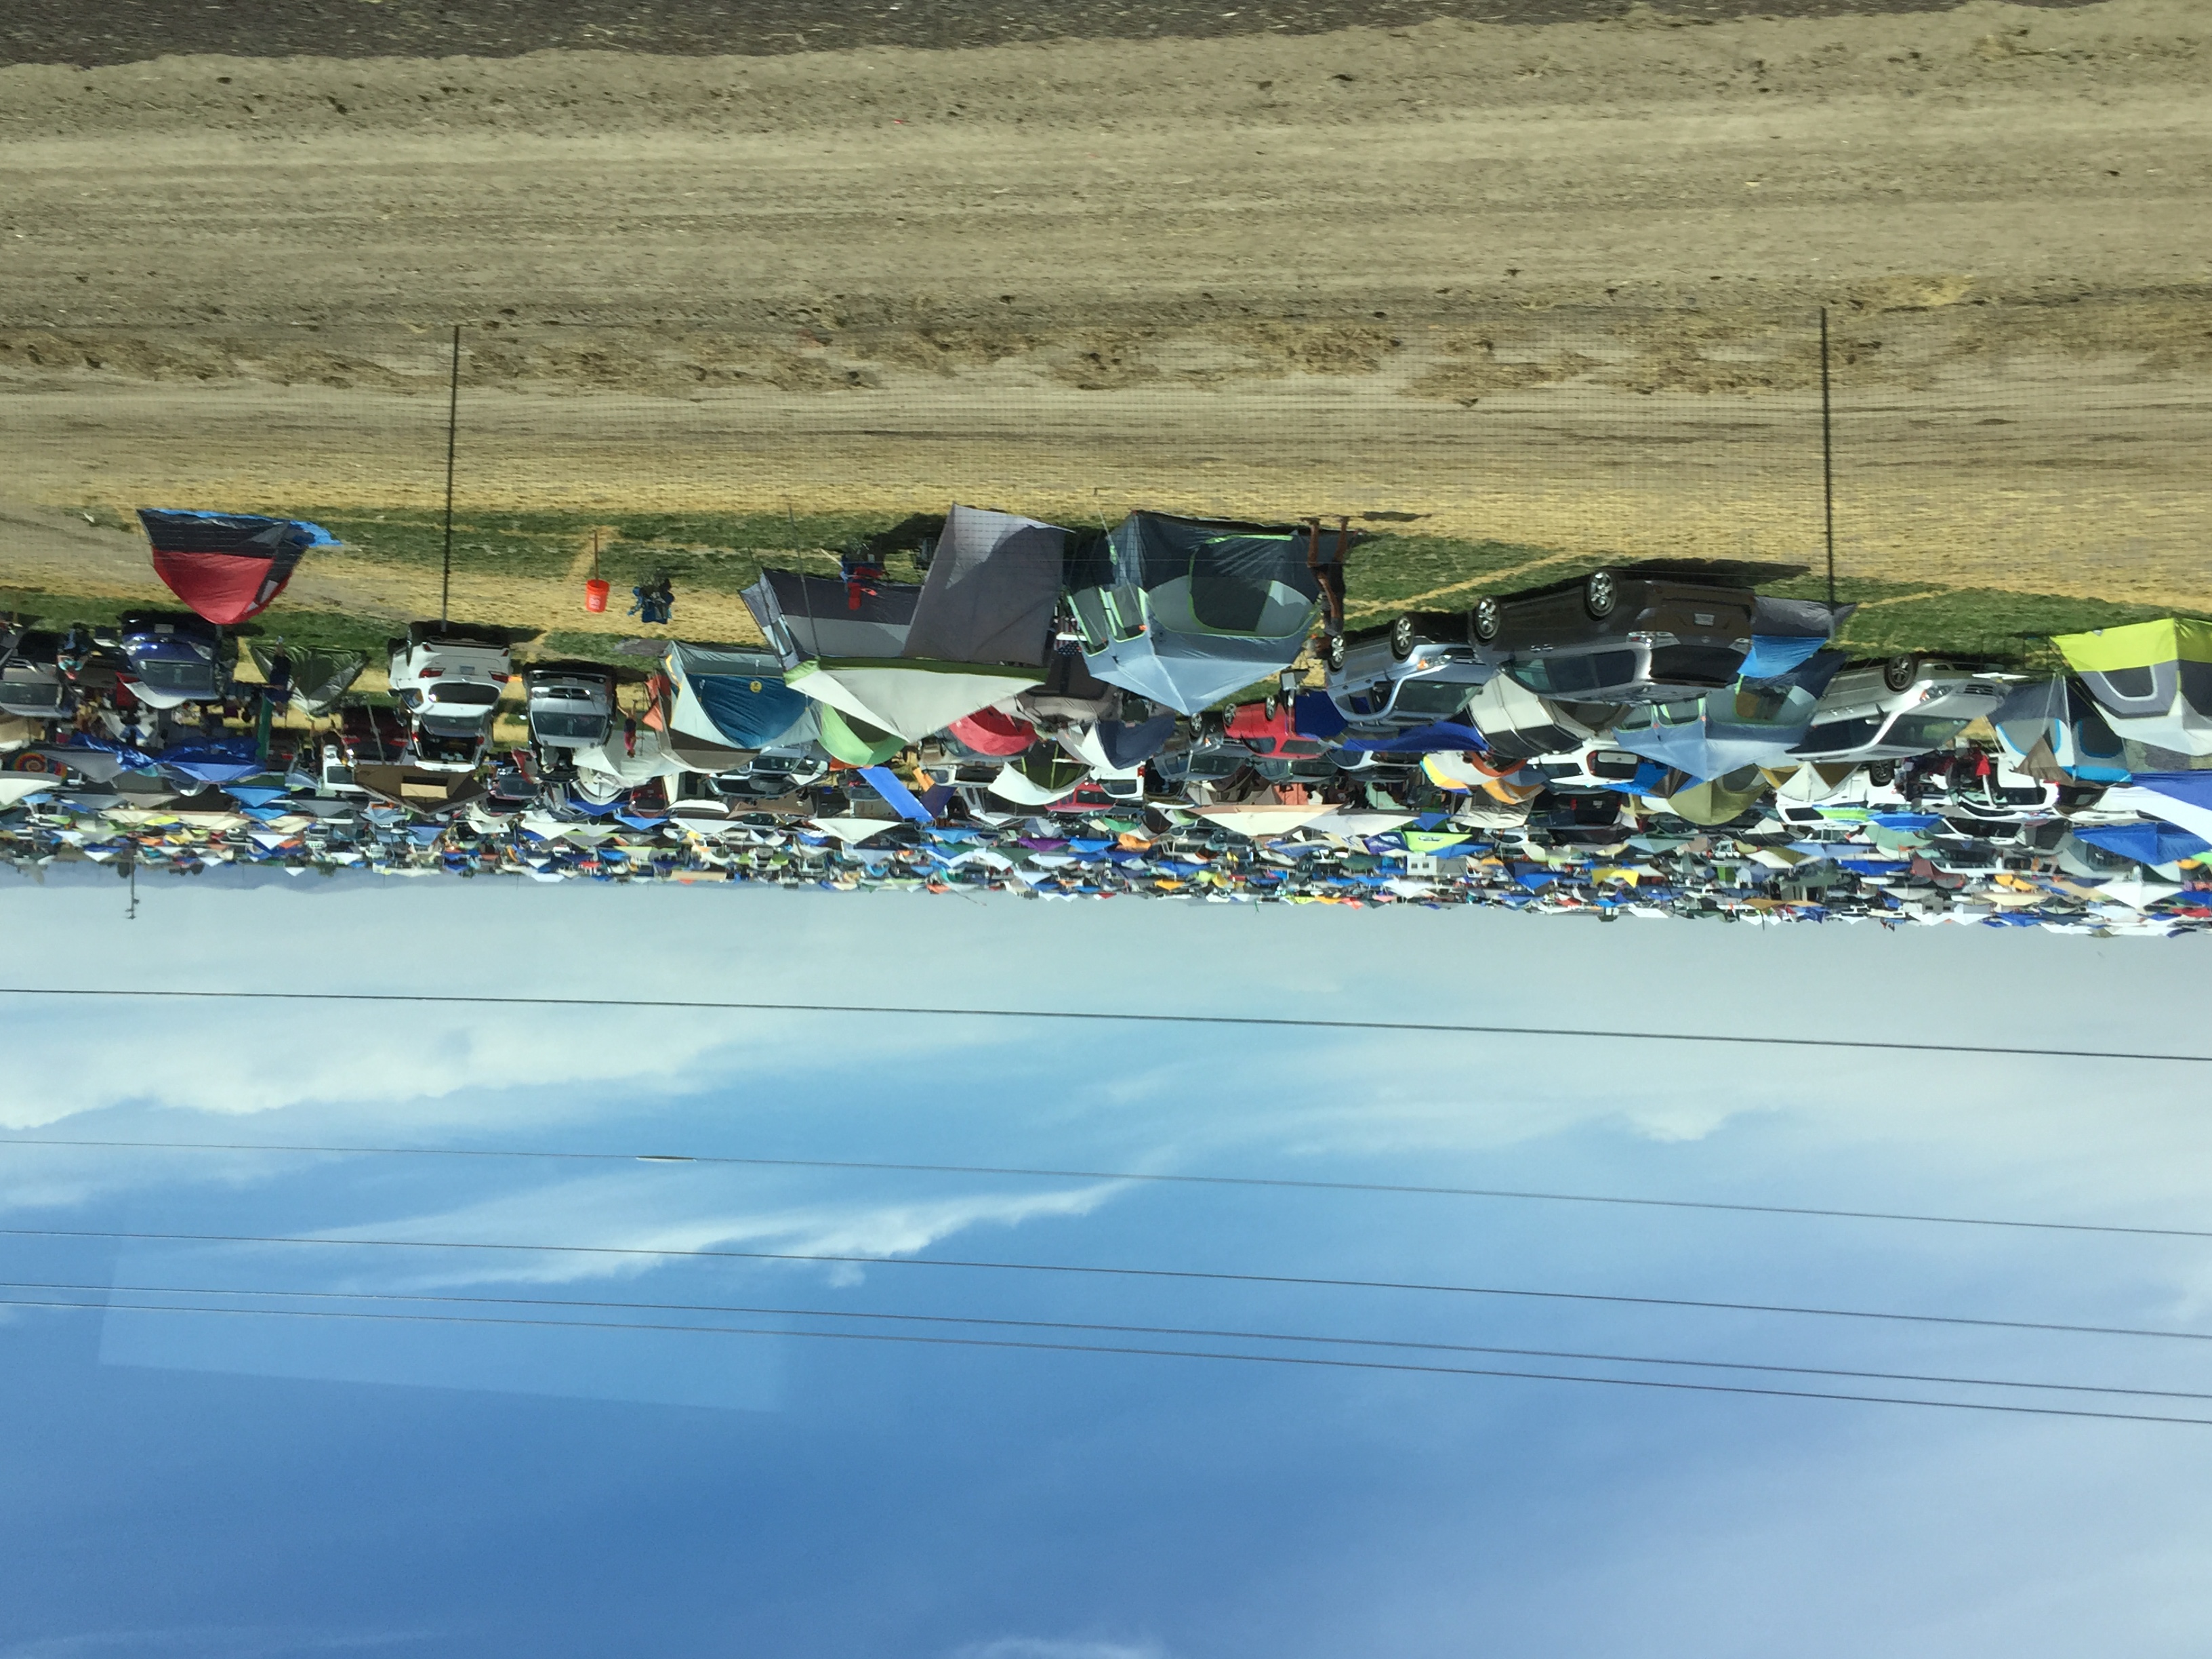
The trip this time was an easy
flight from home. It started in Seattle where my nephew
lives. We then traveled to Portland. From there it was the setup for the eclipse. Overnight in Bend. An early departure for Madras😴 . A 5 hour return to Bend 😩 . We then returned to San Francisco via the coast. Just a limo at the end of the trip instead of a 24 hour flight (and then a limo). |
|
17:19:31
|
|
|
17:21:40
|

